
Dry Wall Partitioning System
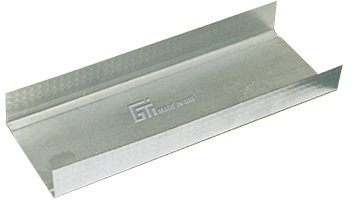
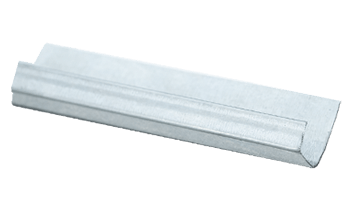
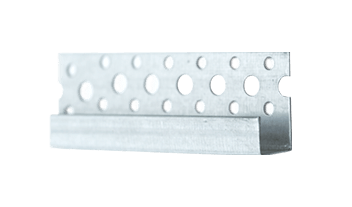
The GTI Drywall Partitioning System is a range of vertical metal studs combined with ceiling and floor tracks that form a frame onto which drywall or plasterboards can be placed. This stud and track system is available in several widths, and have been tested to meet fire, acoustic and structural standards. A particular feature of the studs is their knurled flange surface, which allows for easier and faster screwing of drywalls using drywall screws. This allows the contractor to complete drywalls with the minimum amount of effort
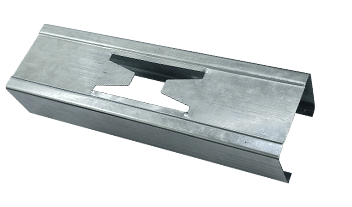
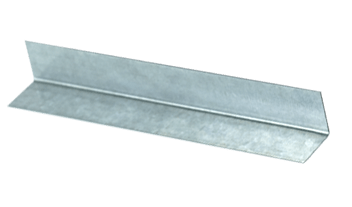
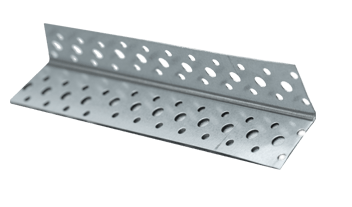
DRY WALL PARTITIONING COMPONENTS
Installation

Installation Steps
Step 1
INSTALL TRACKS
Install the tracks on the floors, ceilings and columns
where the drywall will be adjoined.
Step 2
Adjust height
Extend partition framing to its full height to structural supports or substrates above suspended ceilings, except in places where partitions should terminate at or just above suspended ceilings. Frame over doors and openings and frames around the ducts that will penetrate the partitions above ceiling to provide support.
For fire-resistance rated partitions, extend height so that the partition continuous from the floor to the underside of the structure above.
Step 3
Brace frames
For partition frames that do not extend to the structure above, brace it with studs of the same size and thickness.
Provide bracing at:
- 150.0mm on center intervals along the length of the partitions.
- Not less than 150.0mm on center from partition ends and corners.
- Door and window openings.
Step 4
Install studs
Install steel studs in the size and spacing indicated:
- Single-Layer Construction: Maximum space studs 600.0mm on center (unless otherwise indicated)
- Multiple-Layer Construction: Maximum space studs 600.0mm on center (unless otherwise indicated).
Step 5
Install Drywall
- Install appropriate type of boards.
- Make sure boards have the correct side facing outward.
- Use the maximum practical board size to minimize joints.
- Ensure board surfaces are aligned accurately.
- Use self-drilling power screws to fix boards to studs and tracks.
- Start fixing the boards from the center working towards the edges and corners.
- Provide angle beads at external corners and push boards fully and corners.
- Use continuous lengths of jointing tape set on jointing compound to fill gaps between boards and cover joints.
- To have a smooth surface, apply additional compound to board concealed joints, the heads of fixings, and imperfections in the face.
- Finish by using primer or sealer on the surface.
Features
