
Furring Channel System
The GTI Furring Channel System is a concealed ceiling system that suspends a hat shaped grid of furring channel in conjunction with a primary support (main channel) and wall trim components onto which plaster board is directly fixed. This allows for a smooth surface that can be kept plain or decorated. Lighting, access panels and ventilation can also be accommodated easily.
Applications, Features & Benefits
| APPLICATIONS | FEATURES & BENEFITS |
| Offices | Choice of tile edge detail |
| Classrooms | Standard sizes ex-stock |
| Laboratories | Ceiling takes up minimal void space |
| Hospitals | Simple downward access |
| Airports | Services easily integrated |
| Other commercial installations | Excellent fire performance |

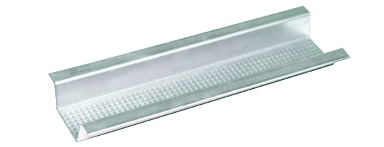
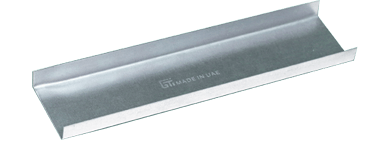
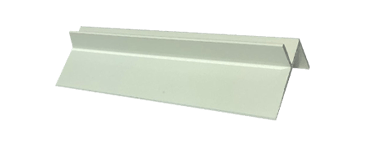
FURRING CEILING SYSTEM Components
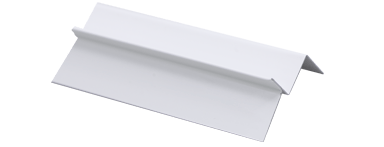
ACCESSORIES


Installation Steps

Step 1
Mark The Ceiling Height
Using a water level or laser method, mark the desired ceiling level on the walls.
Step 2
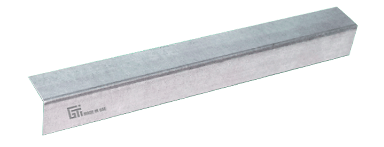
Fix the GI Angle
Place the Angle at the marked height.
Step 3
Fill the grid
Create a grid using the Furring Channels maximum spaced at 600mm O.C and Main Channels maximum spaced @1200mm O.C not more than 200mm distance of furring channel from the walls and not more than 400mm distance of Main Channel from the wall. Attach hanging wire and adjustable clips maximum Spaced at 1200mm O.C on both directions to the concrete soffit using ceiling clips and cartridges or using rigid support as a main channel or L-Angle to form a rigid suspension.
Step 4
Connect the Main and Furring Channels
Connect the Main Channel with the Furring Channel using the wire clip.
Step 5
Adjust
Make the required adjustments to the Main and Furring Channels to accommodate MEP, lighting, diffusers, etc.
Step 6
Fix the plasterboard to the Furring
Screw the 12.5mm thick plasterboard to the Furring
Channels using drywall screws.
Step 7
Fill the pages
Using joint compound, fill the gaps in the plasterboard.
Step 8
Finish the joints
Fix joint fiber tape and finish with a joint compound to
ready the ceiling for decoration.
Step 9
Cut apertures if necessary
Cut apertures for lights and plenum boxes, HVAC balancing, and re-fix.
Step 10
Construct archway
Construct archway structure in angle system to
required profile.
Features
